This was our first real DIY project. Our home inspector strongly recommended that we tear out the “walk-in” closet that a previous owner had unwisely converted the root cellar into. By the time we moved in, the mold was visible on the drywall and we had to tear everything out asap. I didn’t mind. Root cellars are awesome.

I’m not sure what they were thinking when they decided to build this. Root cellars are meant to be damp, with exposed brick and a concrete floor. It isn’t even part of the house – it’s the space underneath the steps leading to the front door. Trying to make it into a finished room was destined to fail.
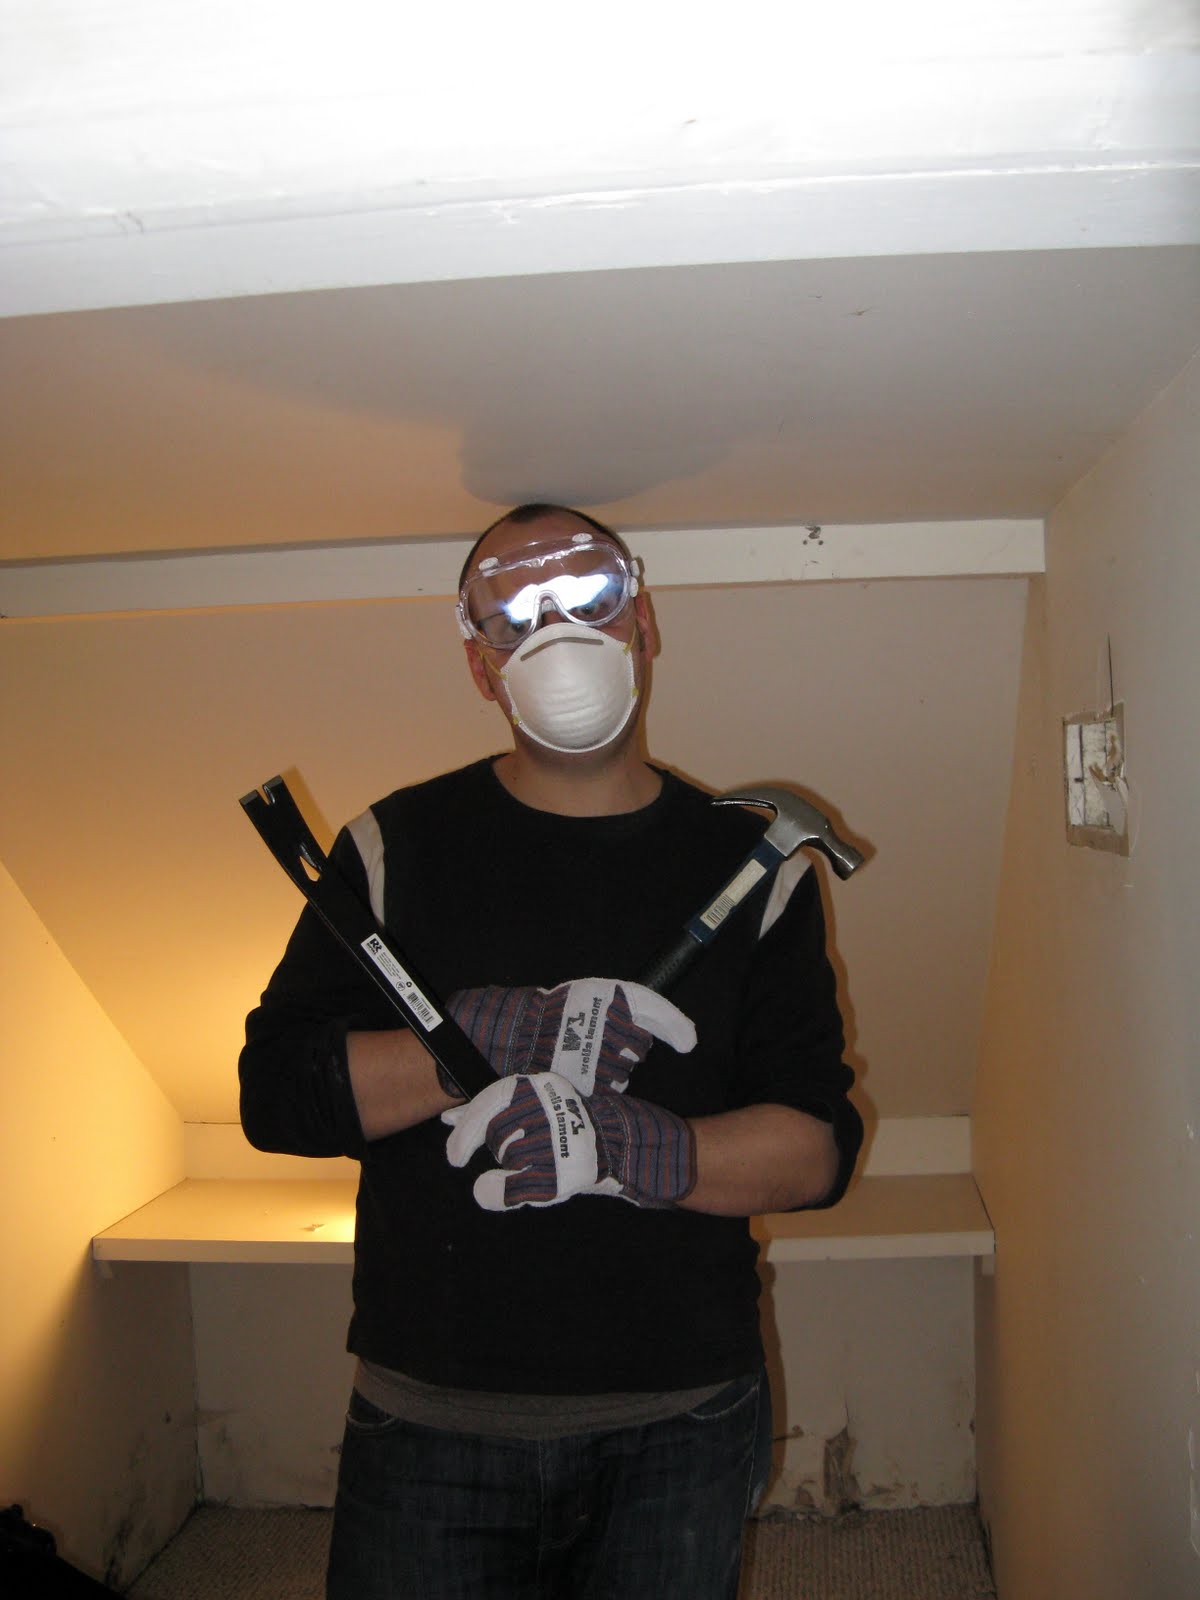
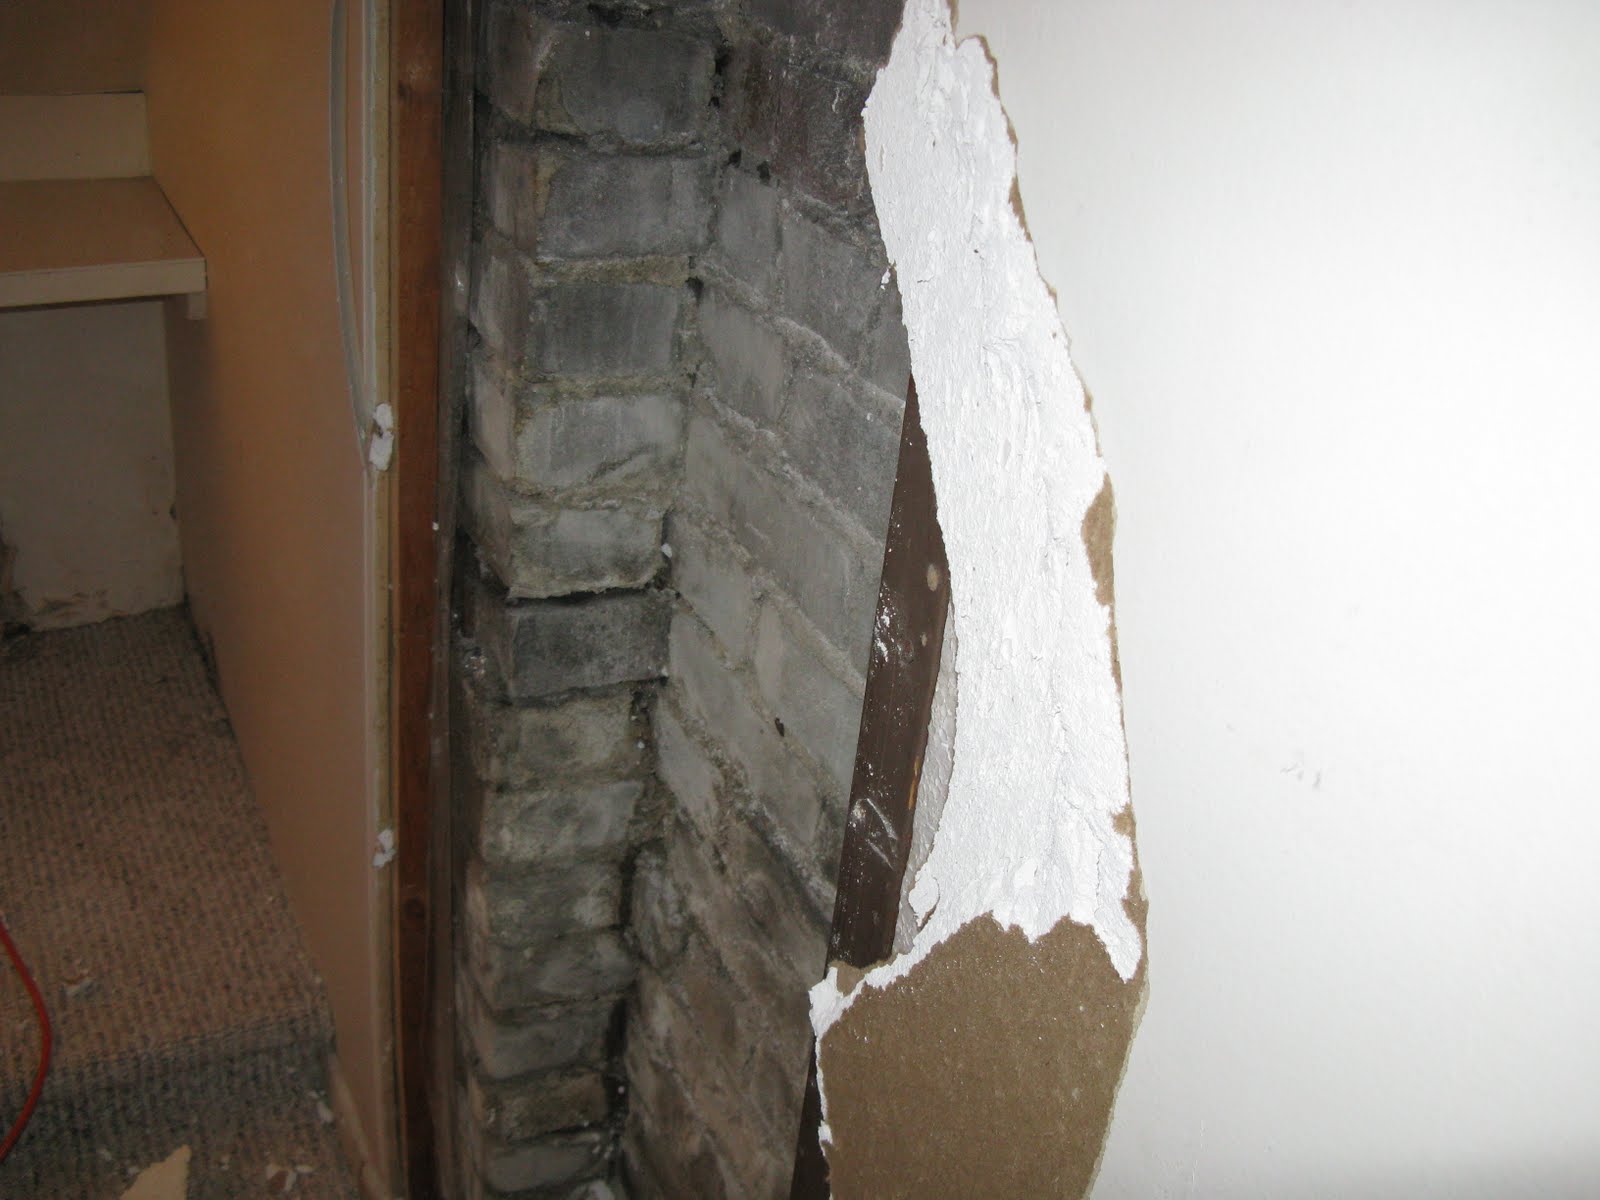
So, after hitting the build-it centre and getting crowbars, work gloves, masks and safety goggles, we dove into some sweet, sweet demolition. I had no idea how much fun smashing and ripping out drywall could be! Underneath the drywall was a thin layer of styrofoam and what was quite possibly clingfilm as a stand-in for vapour barrier.
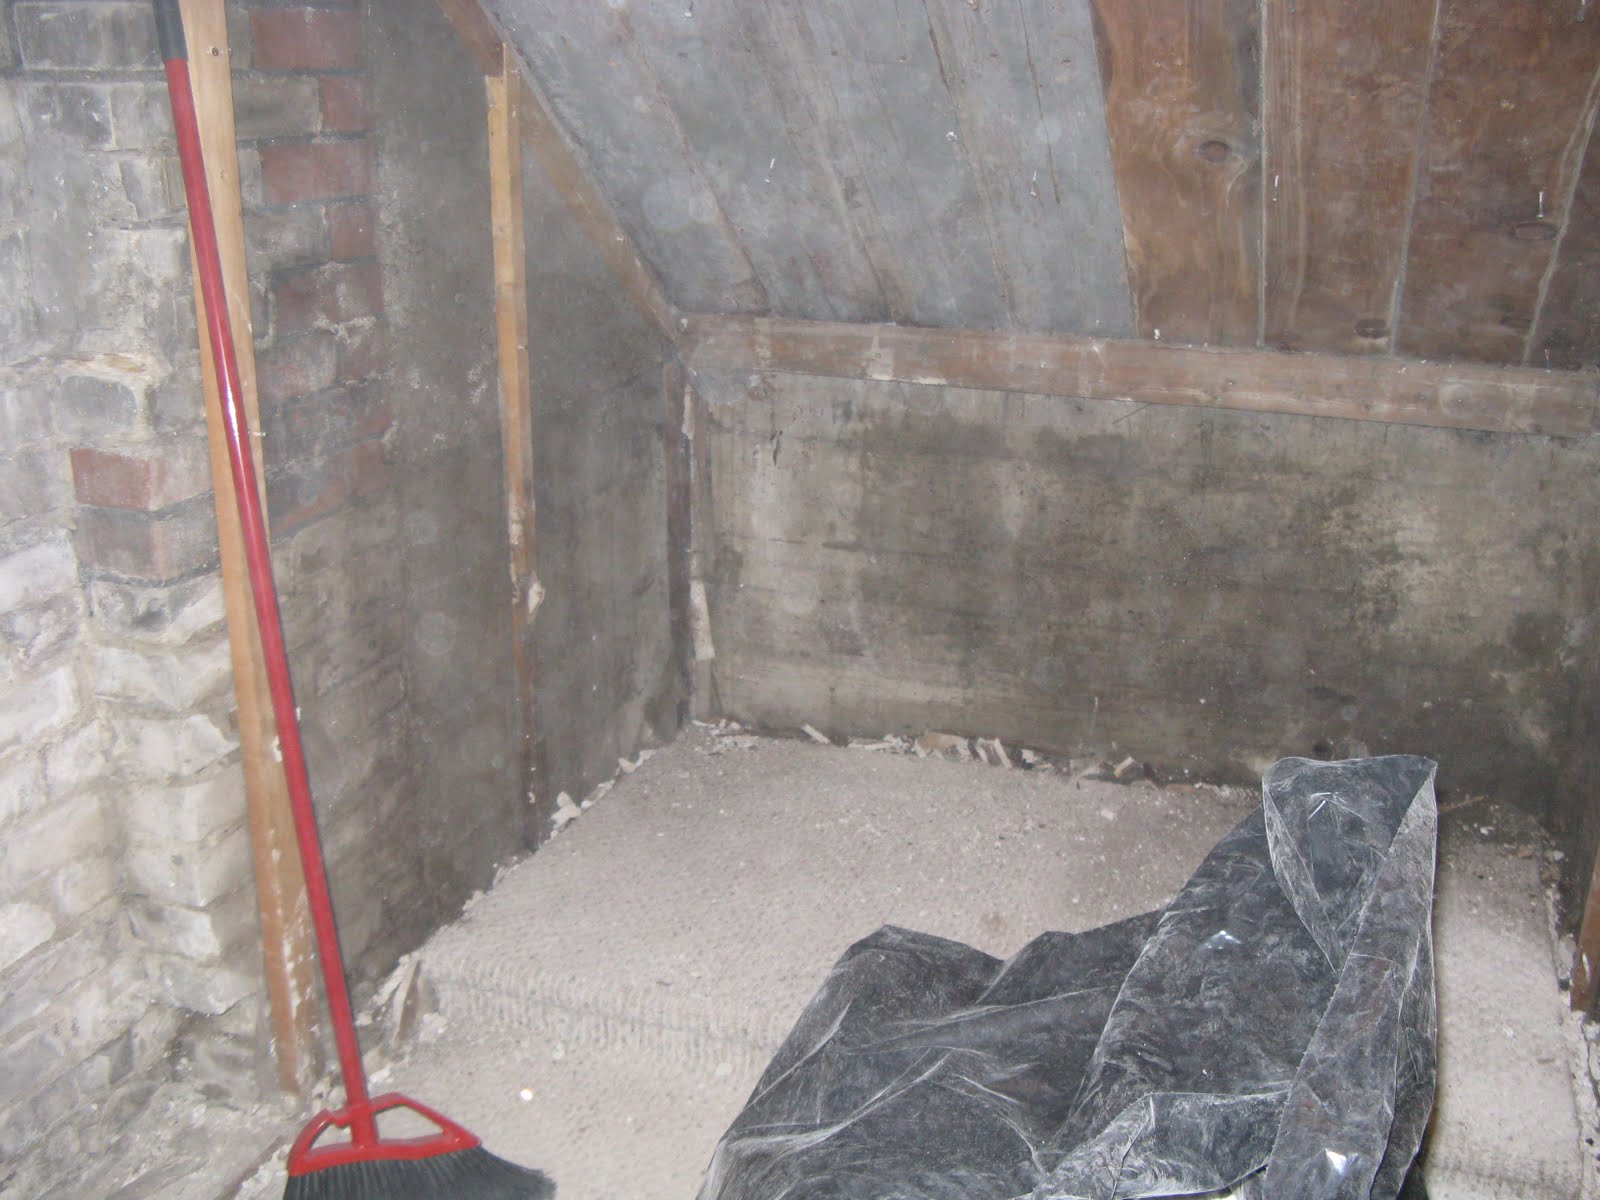
When we were done, it looked a lot more like a root cellar should look like.
Next, we needed shelving. We went to our favourite swedish store – we had previously decided to stop buying so much stuff there, but they really are brilliant at shelving. We ended up with a section filled with bottle racks and lots of open shelving. There are even wire baskets that clip underneath the shelves for smaller things like onions. Little plastic feet fit on the shelf posts to protect them from the floor and keep the wood from rotting.

I’m pleased at how well it turned out – satisfied that the finished project matched up nicely with what I had pictured before we started.
